
Practical guide · Industry & construction
Industrial timelapse:
choosing the right setup
A production line being transformed, a construction project to follow or a night of activity to capture: the right setup depends on what your images need to show.
By Philippe Doutrewé · Enlaps Preferred Partner
Updated on
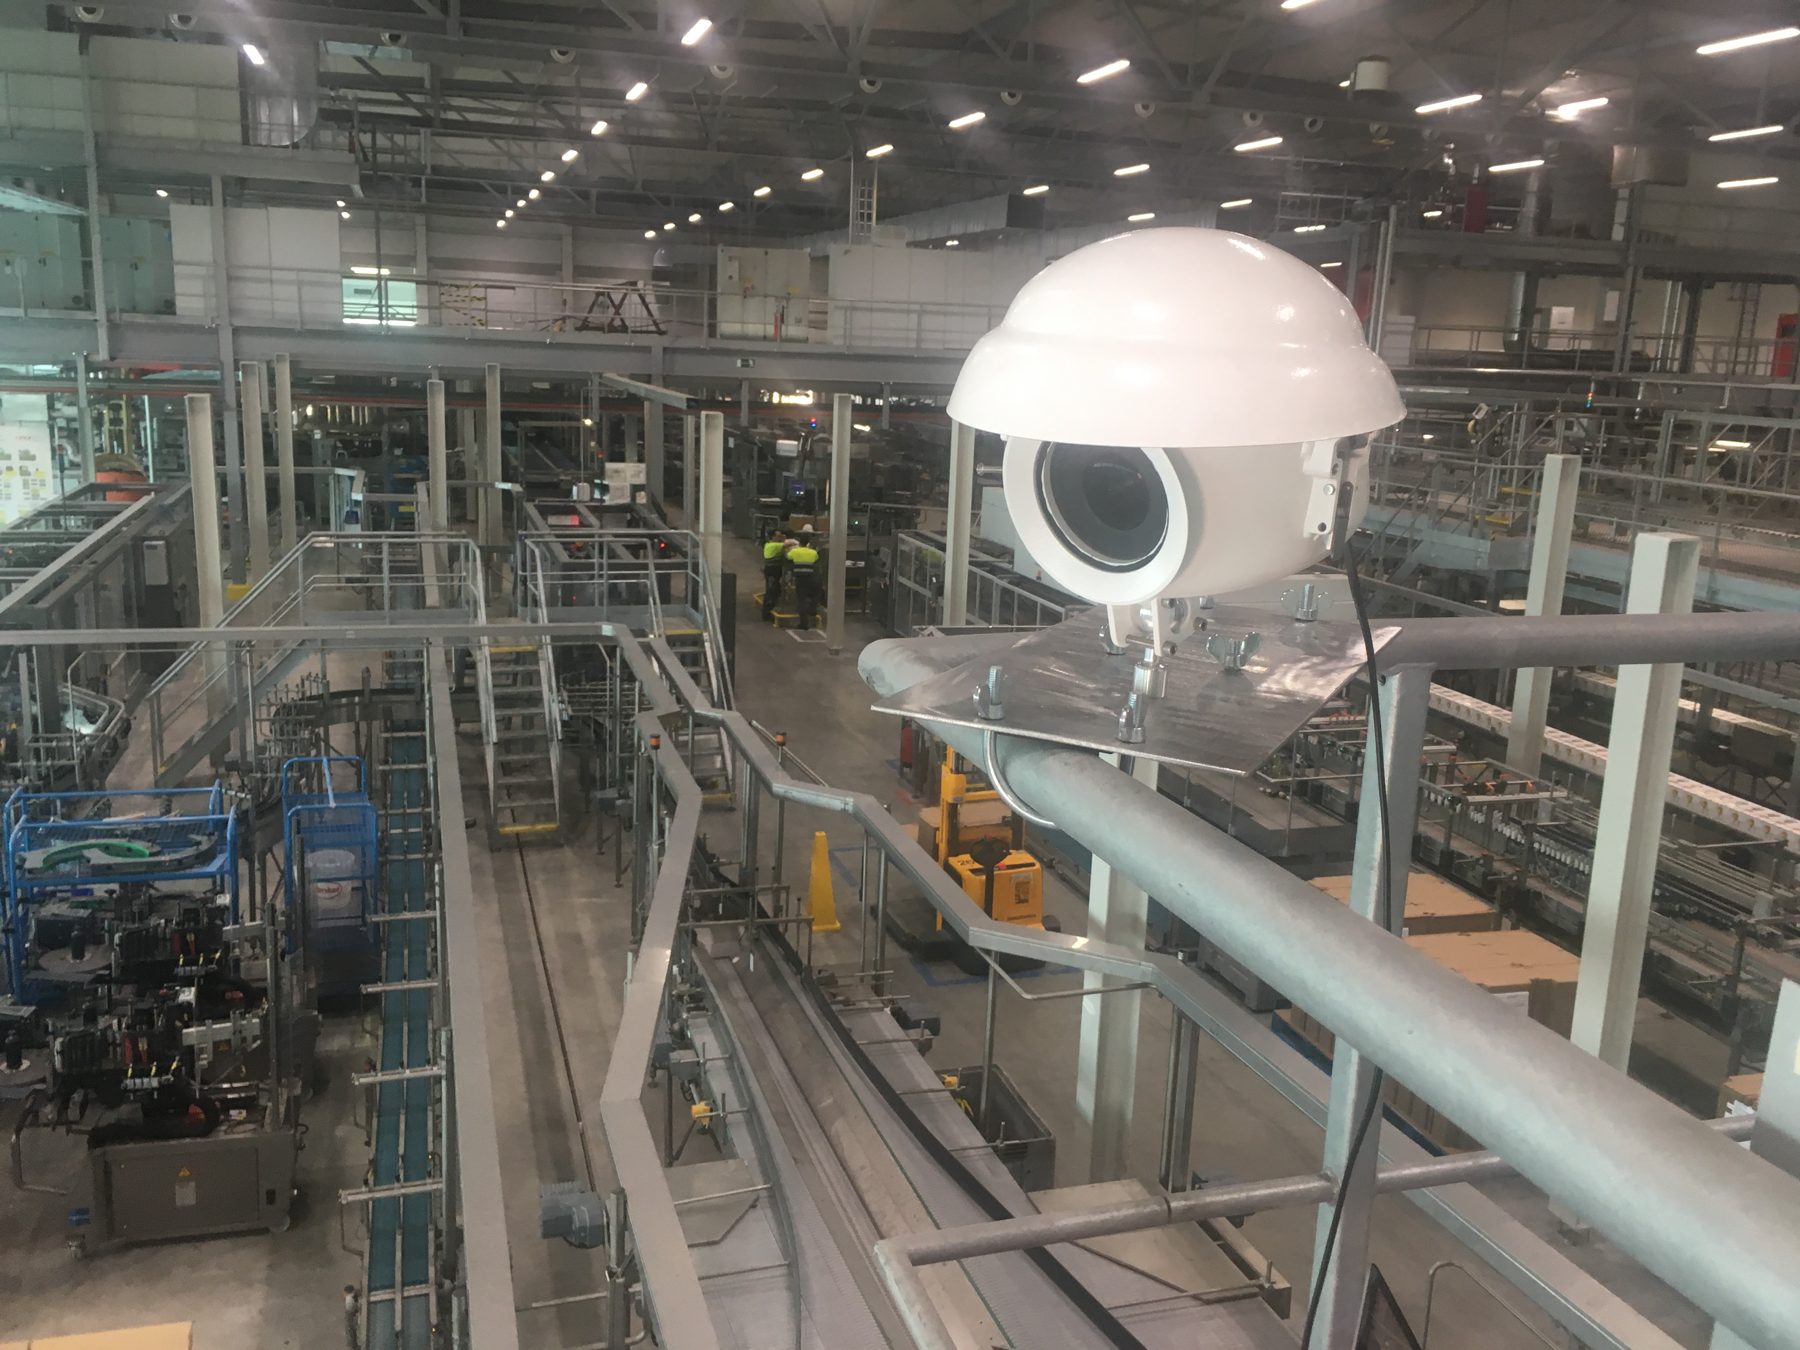
To choose equipment for an industrial timelapse, first define the project duration, the activity to record, site constraints and the deliverables you need. The camera comes next: it is part of a setup that also includes installation, power, monitoring and editing.
1. Start with the project, its duration and its pace
A timelapse turns a sequence of photographs into a sped-up video. It can reveal a gradual transformation, a technical assembly or patterns of movement. Capture frequency depends on how quickly that activity changes, as well as on the overall project duration.
One night: reveal movement
For TNT, the project covered one night, the aim was to show the flow between aircraft and trucks. This type of recording calls for an appropriate capture interval, a lighting check and framing that makes those movements understandable.
Several days: document a transformation
The AB InBev project lasted 16 days. The images show the transition from civil works to a bottling line. Key stages should be identified with the site team so recording can be planned around them.
Several months: plan for continuity
For a long project, the viewpoint needs to remain useful as work progresses. Scaffolding, a new structure or equipment may block the subject. Power autonomy, image retrieval and access for on-site visits all belong in the initial plan.
2. Connected or standalone: which camera setup?
At Plusview, I have three Tikee cameras and several standalone, non-connected timelapse cameras. The choice follows an assessment of the site and your monitoring needs. The options below are starting points to confirm during the site visit.
| Your need | Setup to consider | What to check |
|---|---|---|
| View images remotely | Connected Tikee camera with online access included in the agreed service. | Network coverage at the mounting point, upload frequency and access permissions. |
| Record without a network connection | Standalone camera with local recording. | Power, storage capacity and scheduled on-site image retrieval. |
| Show a short or overnight operation | Setup configured for the pace of activity and available light. | Exposure tests, capture interval and power for the recording period. |
| Document several areas | Multiple viewpoints, connected or offline according to site constraints. | Coverage of key stages, access to mounting points and consistency between sequences. |
A non-connected camera may suit a project focused on a final film when on-site visits are possible. A connected setup is useful for checking progress and preparing interim deliverables. Online image access follows the configured upload schedule; it should not be confused with a continuous live video feed.
3. Plan framing, power and monitoring
The site visit establishes a stable mounting location, field of view, access permissions and a way of working without disrupting operations. Industrial environments also call for attention to vibration, dust, splashes, changing light and site procedures.
Power needs depend on duration and settings. Good solar exposure can help outdoors; it should not be assumed indoors or in a shaded area. Photo and upload frequency also affect consumption. These parameters need to be checked for the selected equipment.
Before recording starts, we agree on checks, planned visits and an on-site contact. Monitoring can cover framing, equipment condition, lens cleanliness, storage and image retrieval. Remote connectivity helps with some checks but cannot replace every physical intervention.
For model-specific Tikee settings, see Enlaps guidance on battery life and recording sequences.
4. Define what you will receive during and after the project
The setup should serve your intended uses: internal progress updates, management presentations, external communication or a record of the project. Deliverables are specified in the proposal and can include:
- Online access to images with a connected setup.
- Interim videos to share progress.
- An edited final film with music and logo, in the agreed formats.
- Additional photography, video, drone or dronelapse footage to complement the fixed viewpoint.
Timelapse shows change over time. If you need to explain a task, procedure or safety instruction, complementary video can show the action at its actual speed and add explanations. Explore training videos and multicamera recording.
Agree on confidentiality from the start
We agree on the areas recorded, who can view the images and how they may be shared. A film made for internal use does not automatically become a public portfolio reference. These arrangements can affect framing, online access and editing.
5. Compare the full service and prepare your brief
The budget depends on duration, number of viewpoints, installation conditions, travel, monitoring, selected connected services and editing. When comparing proposals, check what is included: installation and removal, inspections, image retrieval, interim videos and the final film.